However, thanks to the new Google Drive app for desktop, you can now quickly backup your most important photos & videos directly to Google Photos. So, if you are looking for ways to backup photos and videos to Google Photos on PC, you are reading the right article. Also read: 10 Best Google Photos Alternatives
Steps to Backup Photos to Google Photos on PC
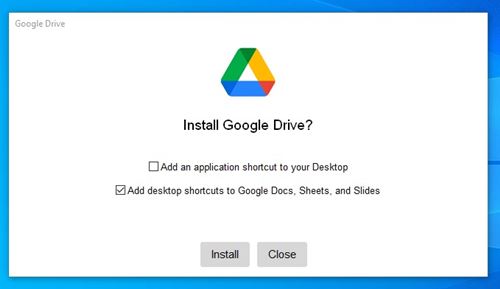
In this article, we will share a step-by-step guide on how to upload photos & videos directly to the Google Photos app on PC. To demonstrate the method, we have used Windows 10. The steps are the same for Mac as well. Let’s check out. Step 1. First of all, download the Google Drive desktop app on your computer. Step 2. Once downloaded, install Google Drive on your system. The installation might take few seconds to complete.
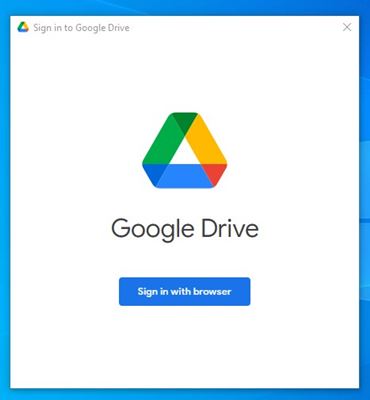
Step 3. Once installed, launch the Google Drive app and log in with your Google Account. Make sure to log in with the account connected with Google Photos.
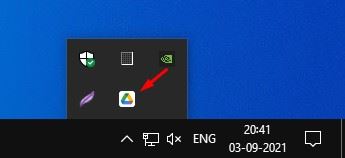
Step 4. Next, click on the drive icon on the System tray.
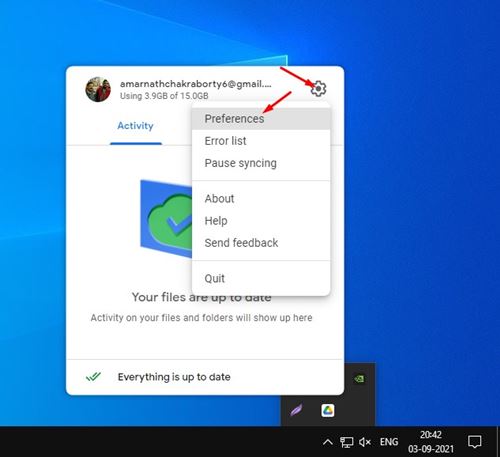
Step 5. Next, click on the cog icon and select Preferences.
Step 6. On the preference window, again click on the cog icon.
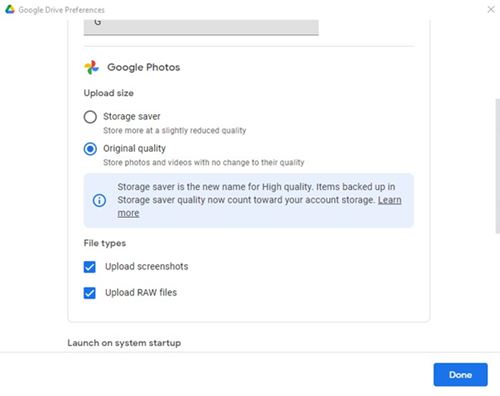
Step 7. This will open the Google Drive Settings. Now scroll down and find Google Photos Section. Next, select the Quality of the backup and click on the ‘Done‘ button.
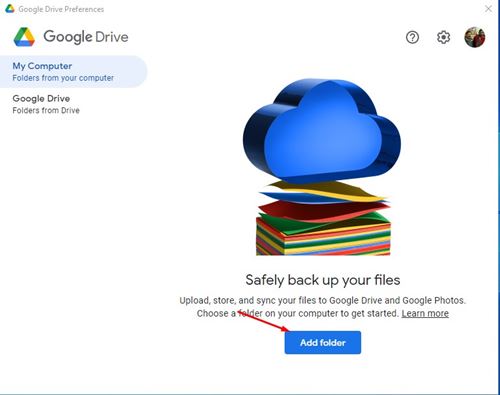
Step 8. Next, click on the ‘Add folder’ button, as shown in the screenshot below.
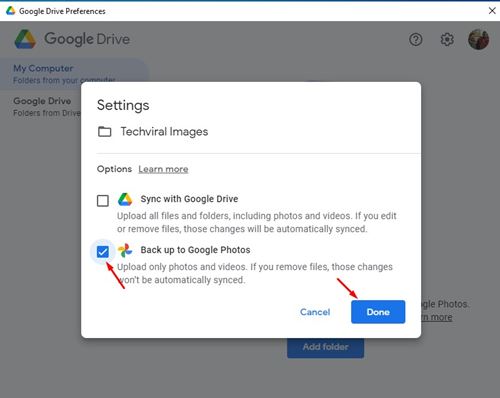
Step 9. Now select the folder that you want to backup. Once selected, enable the ‘Backup to Google Photos’ option and click on the ‘Done‘ button.
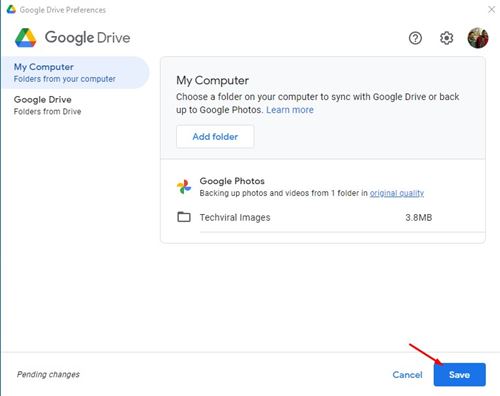
Step 10. If you want to add more folders, click on the ‘Add folder’ button and locate the folder.
That’s it! You are done. This is how you can backup Photos to Google Photos on PC. So, this article is all about how to automatically backup photos to Google Photos on a PC. I hope this article helped you! Please share it with your friends also. If you have any doubts related to this, let us know in the comment box below.
