Fortunately, Windows 10 lets you create a new account for a friend or family member. It also lets you change the names of existing user accounts. However, changing the account name in Windows 10 isn’t exactly a straightforward process. [alert-announce]Also Read: Best Live Wallpapers for Windows 10[/alert-announce]
List of all Methods To Change User Account Name in Windows 10
So, in this article, we are going to share the three best methods to change your Account name on Windows 10 computer. With these methods, you can easily rename an existing user account. Let’s check out.
1. Change Login Name Using Control Panel
You can use the classic control panel to change the account name of an existing account. Just follow some of the simple steps given below. Step 1. First of all, press Windows Key + R. It will open the Run Dialog box.
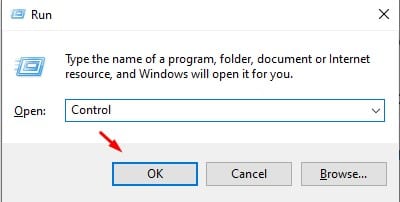
Step 2. On the Run dialog box, type in ‘Control’ and click on the ‘Ok’ button.
Step 3. This will open the Control Panel. Step 4. On the Control Panel, click on the ‘User Accounts’ option.
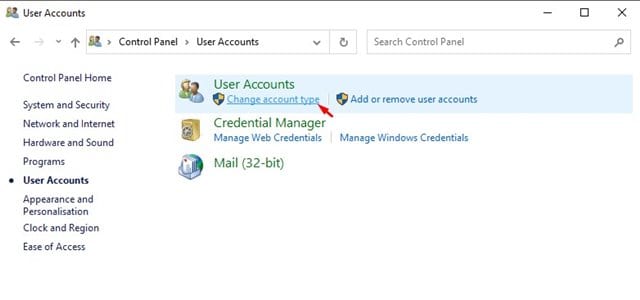
Step 5. Now under the ‘User Accounts’, click on the ‘Change account type’ option.
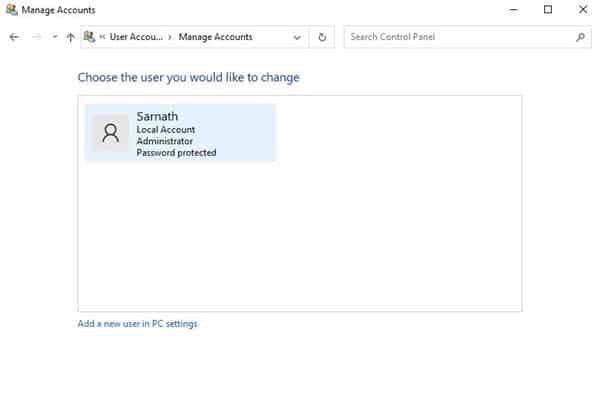
Step 6. Click on the account whose name you want to change.
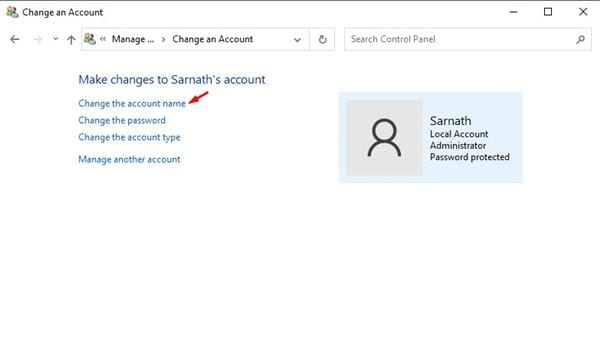
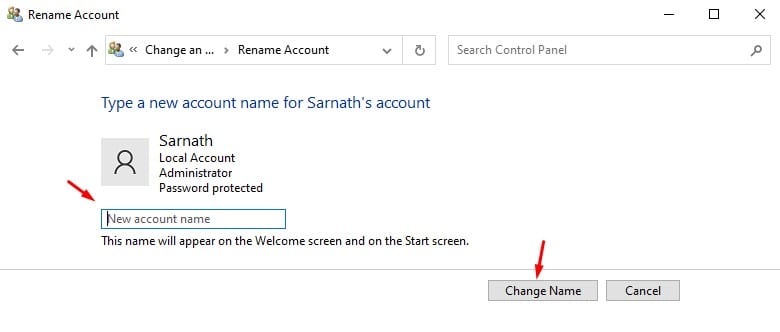
Step 7. On the next page, click on the ‘Change the account name’ option.
Step 8. Now type in the new name and click on the ‘Change Name’ option.
That’s it! You are done. This is how you can change your Login name in Windows 10.
2. Using Advanced User Management
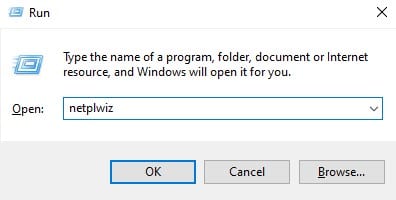
If you are unable to change the account name by following the above method, then you need to try this one. Follow some of the simple steps given below to change your login name on Windows 10. Step 1. First of all, press Windows Key + R on your keyboard. This will open the RUN dialog box.
Step 2. On the Run dialog box, type in ‘netplwiz’ and click on the ‘Ok’ button.
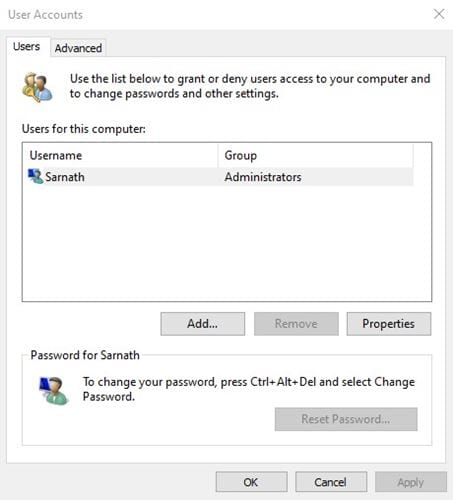
Step 3. This will open the advanced user accounts settings.
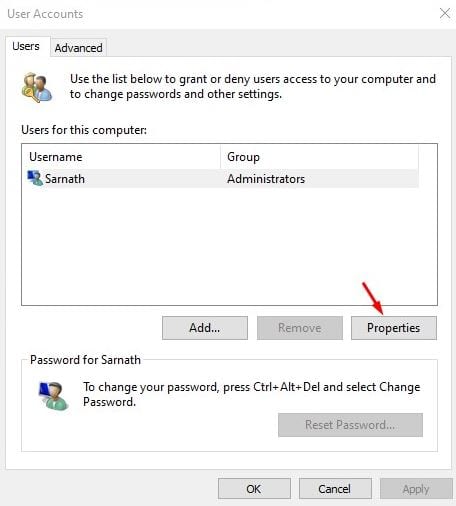
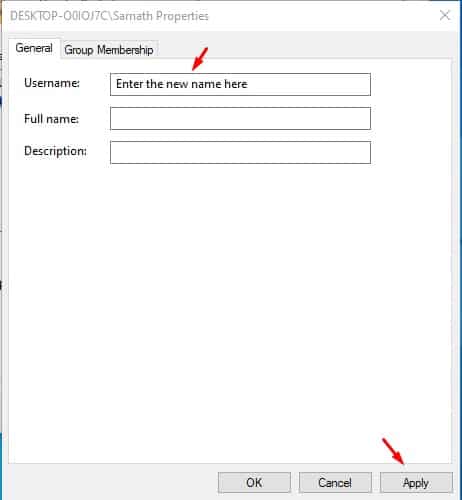
Step 4. Now select the account whose name you want to change and click on ‘Properties’
Step 5. Under the General tab, enter the new user name and click on the ‘Apply’ button.
That’s it! You are done. This is how you can change the account name through advanced user settings.
3. Using Microsoft Account
If you have your user account linked to Microsoft account, then you need to follow this method. In this method, we will use a Microsoft account to change the administrator name on Windows 10.
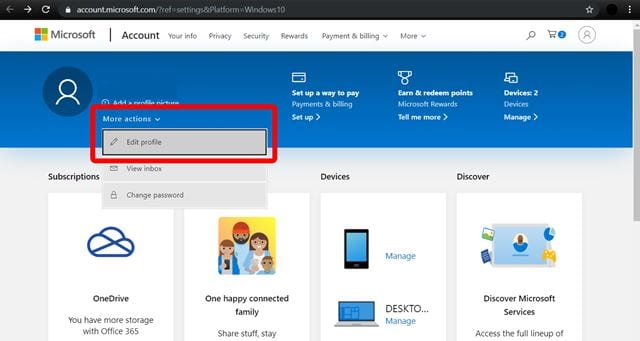
First of all, open Settings > Accounts. Now click on the ‘Your Info’ and then on ‘Manage my Microsoft Account’ This will open the Microsoft account page in your web browser. Sign in to the Microsoft account and click on ‘More Actions’ Next, click on the ‘Edit Profile’ option. There enter the new name and save the changes.
That’s it! You are done. Now just restart your computer to change the account name. So, that’s all from us for today! With these methods, you can easily change your login name on the Windows 10 computer. I hope this article helped you! Please share it with your friends also.