The high contrast theme or the high contrast mode is a part of the Ease of Access option of Windows 11, and it allows people with vision disabilities to conveniently read the screen. If you have vision deficits or have low vision, you may find certain apps or websites difficult to read. When this happens, you can apply these high contrast modes or themes to make the screen content more convenient to read. If you are a regular user and free from vision problems, you might find these high contrast themes useless, but it’s there for a purpose. High contrast themes on Windows 11 use brighter colors to make the text and interface more visible.
2 Methods to Enable High-Contrast Themes on Windows 11
On Windows 11, you get four different contrast themes, namely Aquatic, Desert, Dusk, and Night Sky. Each of the themes uses brighter colors variation to satisfy users. Hence, in this article, we will list a few best ways to enable high contrast mode in Windows 11 computers. Let’s check out.
1) Enable High Contrast Theme via Settings
In this method, we will use the Windows 11’s Settings app to enable the high contrast mode. Here are some of the simple steps you need to follow.
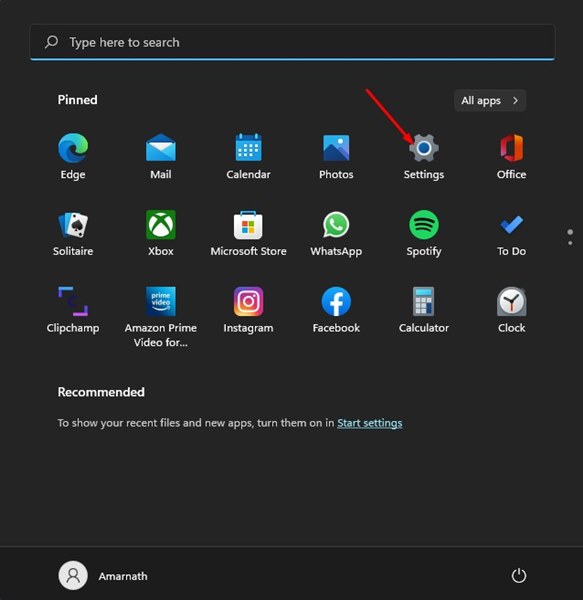
First of all, click on the Windows 11 Start button and select Settings.
On the Settings app, click on the Accessibility tab as shown below.
On the right pane, click on the Contrast themes option.
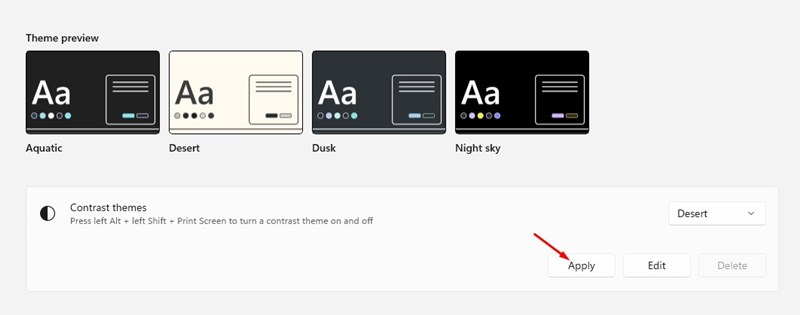
Now, on the drop-down menu beside Contrast Themes, select the theme you want to apply. Once done, click on the Apply button.
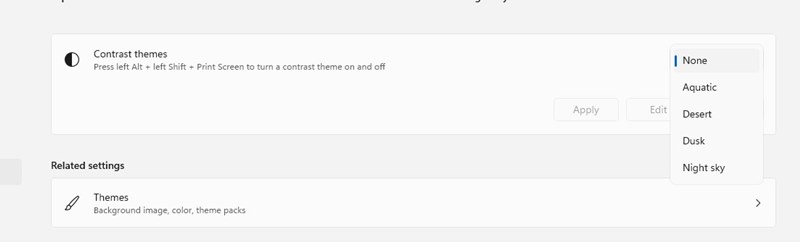
If you are unsatisfied with the theme, you need to select the ‘None‘ option in the Contrast theme drop-down.
That’s it! You are done. This is how you can enable high contrast theme on Windows 11 operating system.
2) Enable High Contrast Theme via Control Panel
In this method, we will use the Classic Control panel to enable the high contrast theme on Windows 11. Follow some of the simple steps we have shared below.
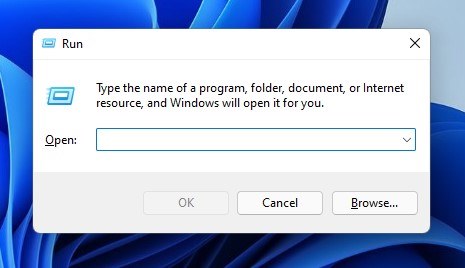
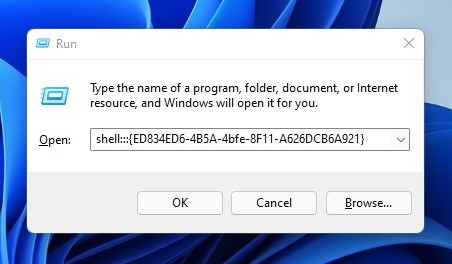
First of all, press the Windows Key + R button to open the RUN dialog box.
On the RUN dialog box, type in shell:::{ED834ED6-4B5A-4bfe-8F11-A626DCB6A921} and hit the Enter button.
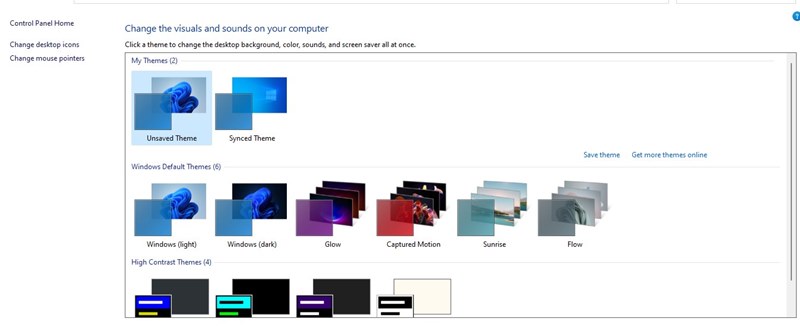
The above run command will open the Personalization Window. You will now see all themes available on Windows 11.
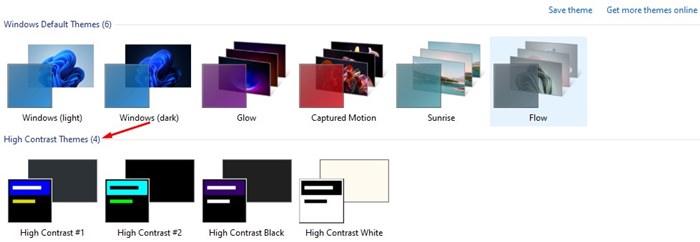
You need to scroll down to the High Contrast Themes section and pick the theme you want to use.
That’s it! You are done. This is how you can enable high contrast theme on Windows 11 via Control Panel. So, these are the two best methods to enable high contrast themes on Windows 11. I hope this article helped you! Please share it with your friends also. If you have any doubts related to this, let us know in the comment box below.