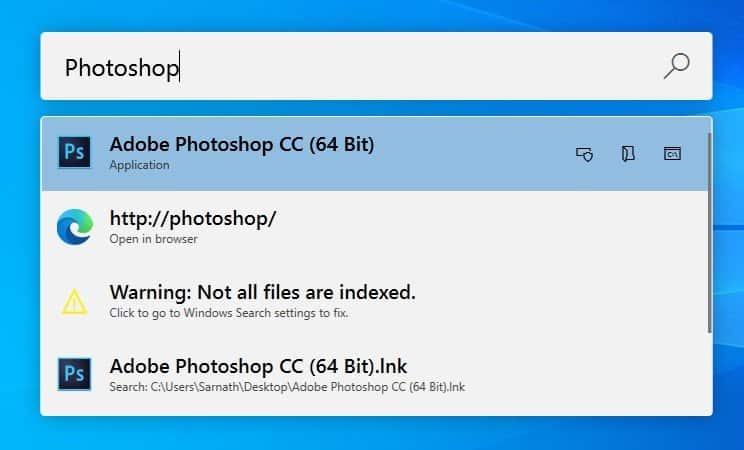
Microsoft has already tried to add a macOS style spotlight search bar to the Windows 10 operating system about three years ago, and it was also added to the insider build. However, due to bugs, Microsoft decided to remove the feature. Now it looks like Microsoft’s PowerToys made it possible to bring macOS-style spotlight search on Windows 10. With the PowerToys module PowerToys, one can quickly launch a pop-up search bar that looks like a Spotlight search.
Steps to Get macOS Type Spotlight Search on Windows 10
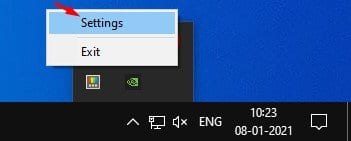
In this article, we will share a detailed guide on how to get a Spotlight-style search bar on Windows 10 operating system. Let’s check out. Step 1. First of all, download & install PowerToys on your PC. For that, follow our guide – How to Download &Install PowerToys in Windows 10. Step 2. Once done, open PowerToys from the System tray.
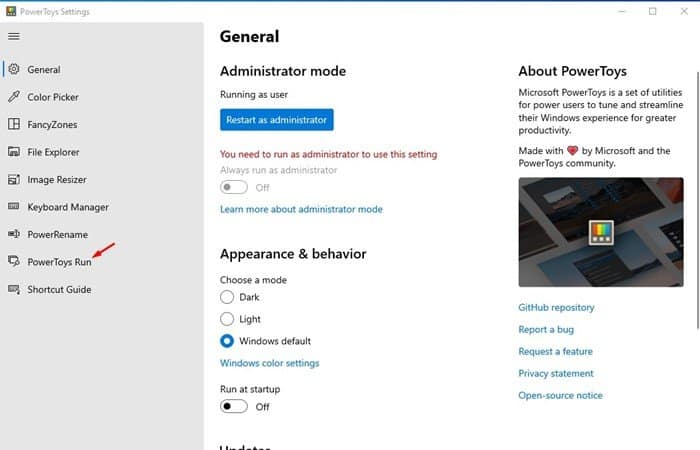
Step 3. On the left pane, select ‘PowerToys Run’
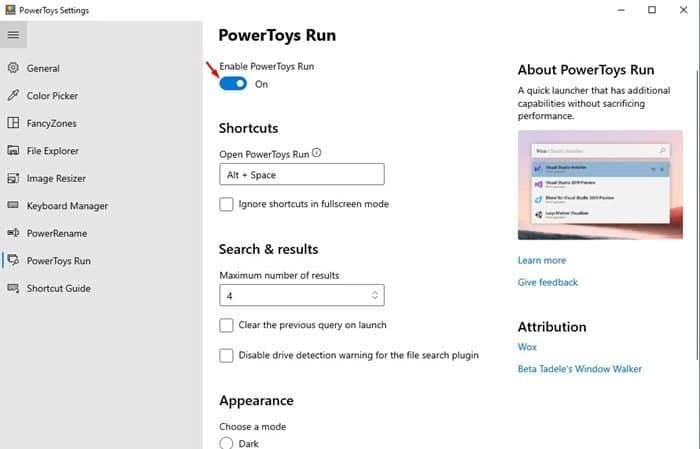
Step 4. On the right pane, toggle the switch for ‘Enable PowerToys Run’ to ‘On’
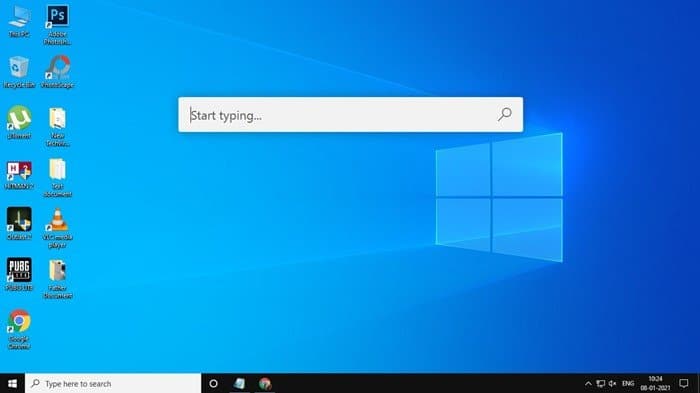
Step 5. Once done, move to the Windows 10 desktop and press the Alt+Space button. You will see a search bar like this.
Step 6. Now just start typing the app name or Settings. To open any particular app or setting, just enter the name hit the Enter button.
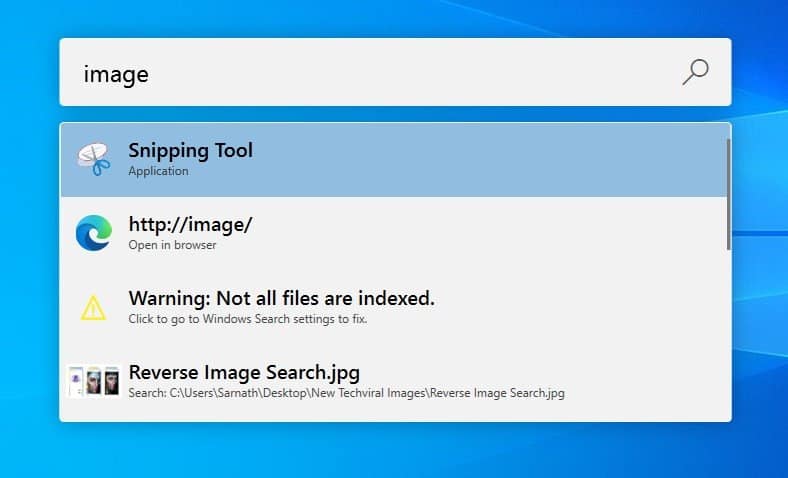
Step 7. PowerToys run also allows you to perform some advanced things right from the search options. For instance, if you type in ‘Image’ in the search, it will automatically suggest all apps related to images like the Snipping tool for taking a screenshot, suggesting tools for photo editing, etc.
That’s it! You are done. This is how you can get a spotlight style search-bar on Windows 10 computer. This article is all about getting a spotlight style search bar on Windows 10 computer. I hope this article helped you! Please share it with your friends also. If you have any doubts related to this, let us know in the comment box below.
